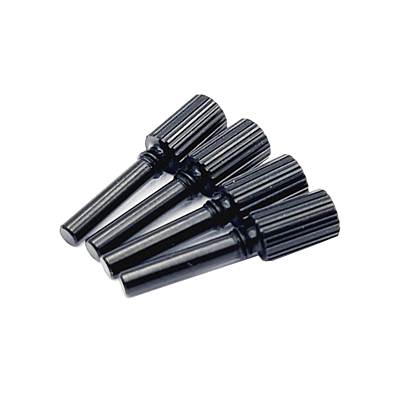
Damper Piston Height Tool is a great new tool to help making building your Awesomatix D2.2 Dampers a breeze!
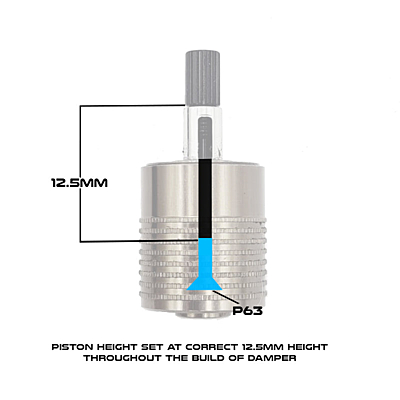
When assembling the dampers, it's important to ensure the P63 piston is at the correct height throughout the build and upon completion. Traditionally you would need to keep checking and pushing the piston back down throughout the build.
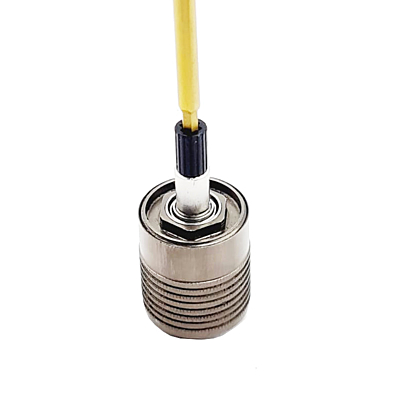
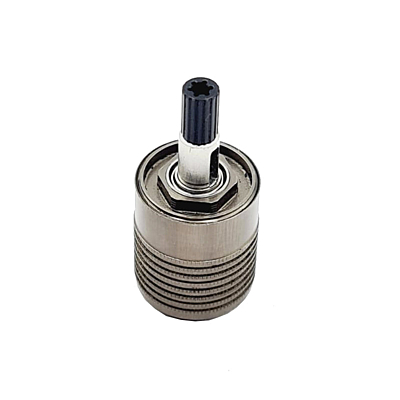
That's where these handy tools come in! They screw down inside the damper shaft and touch the top of the P63 to correctly set the height. This way you can forget about needing to check it throughout the build.
The tools can be screwed in and out with your fingers or a 2mm driver into the end. They don't need to be tightened firmly, so make sure you just lightly nip them up.
Steps for building a perfect damper:
- Disassemble the damper
- Install the Damper Piston Height Tool into each AT41-2 Paddle
- Install P63 into AT41-2
- Fill the damper casing with oil about 3mm from the top and seat AT41-2 down into the damper casing
- Without bearing or o-ring installed, screw the top cap on and tighten
- Install the oring and seat down into place
- Wipe off any extra oil that has been exerted by the o-ring
- Install the bearing down into the casing and make sure it's seated all the way
- Remove any extra oil from the outside of the damper
- Unscrew the Piston Height Tool - and you're done!
This current hex head batch can be used without any need to extend the damper vane thread.
Important! Damper Preparation to use this tool for first batch (star head in top)
For customers who purchased the first batch of tools with the star head in the top, you must use the supplied M3x6 Button head to extend the thread in the end of the damper slightly to allow the tool to seat down correctly. With or without the damper assembled, forcefully screw the M3x6 screw down into the damper vane (where the grub screw normally goes) until it bottoms out. Screw it in and out a few times to cut the thread deeper. Do this to all 4 dampers. That's it - we're ready to use the tools!


